
Hey Superwomen! Are your nails often an afterthought amidst the daily whirlwind of drop-offs, deadlines, office hours, and general life management? You’re not alone! We know that finding time for self-care, let alone a salon visit, feels like winning the lottery. But what if we told you that stunning, on-trend nails don’t have to be a luxury you can’t afford in time or money?
Gone are the days of needing intricate tools, endless hours, or a professional touch to achieve chic nail art. This guide is dedicated to YOU – the busy, multitasking woman and mom who deserves a little sparkle and self-expression. We’ve curated 10 simple nail art designs that are not only quick and easy to do at home but also surprisingly durable and stylish. Get ready to transform your fingertips from frazzled to fabulous with these low-maintenance nail trends that are perfect for your demanding schedule. Discover how you can enjoy salon-worthy nails at home without sacrificing precious time. Let’s make your next DIY manicure a breeze!
Here are some simple and chic nail art designs perfect for busy schedules:
💅 Quick & Chic Nail Art Designs
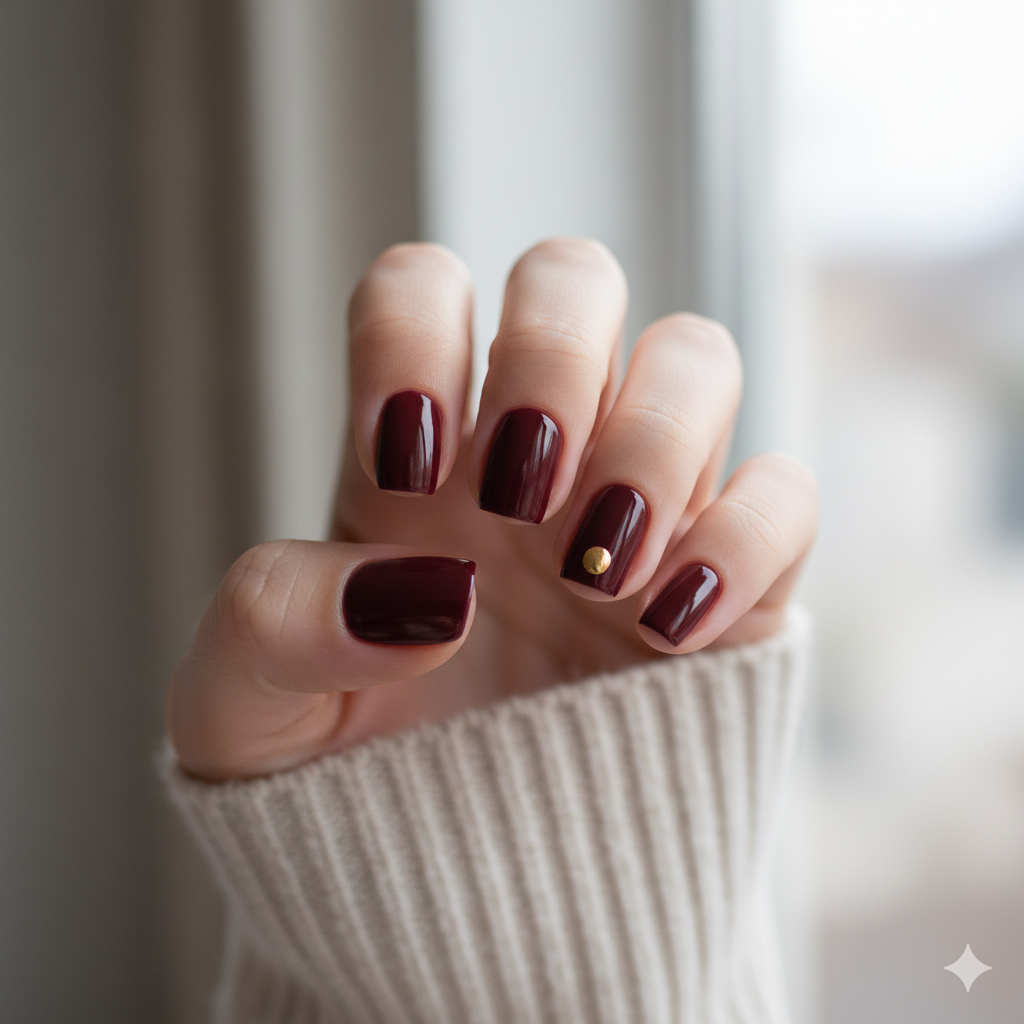
1. The Simple Dot Accent
This design takes seconds but looks intentionally modern.
- Tools Needed: Base coat, your favorite polish color, a contrasting polish, and a dotting tool (or a bobby pin/toothpick end).
- How to Do It:
- Apply your base coat and two coats of your main color (e.g., nude, pale pink, or black).
- Wait a moment for the color to set (it doesn’t have to be perfectly dry).
- On just the ring finger (or thumb), place a small drop of the contrasting color onto a piece of foil.
- Dip your dotting tool into the contrasting color and place a single, neat dot at the base of the nail, near the cuticle.
- Finish with a quick-dry top coat.
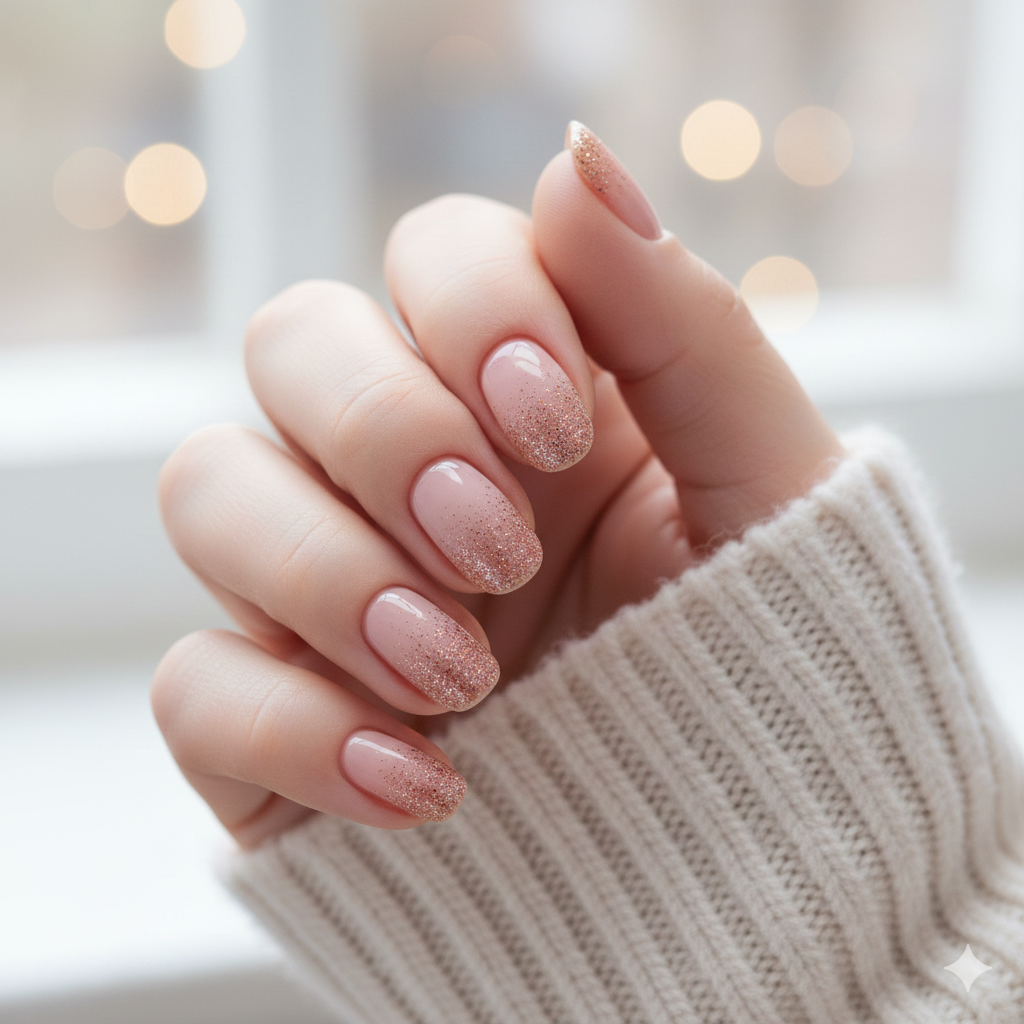
2. Glitter Fade (Ombré Sparkle)
Glitter is a busy mom’s best friend—it hides small chips and applies quickly.
- Tools Needed: Base coat, a nude or light pink polish, and a fine glitter polish.
- How to Do It:
- Apply your base coat and two coats of the base color.
- Once dry, take your glitter polish and wipe off most of the excess.
- Apply a thin layer of glitter heavily near the tip of the nail.
- Using the brush, gently brush the remaining glitter down the nail towards the cuticle, thinning out the glitter as you go. You want the glitter concentrated at the tip and sparse at the base.
- Finish with a thick top coat to smooth the glitter texture.
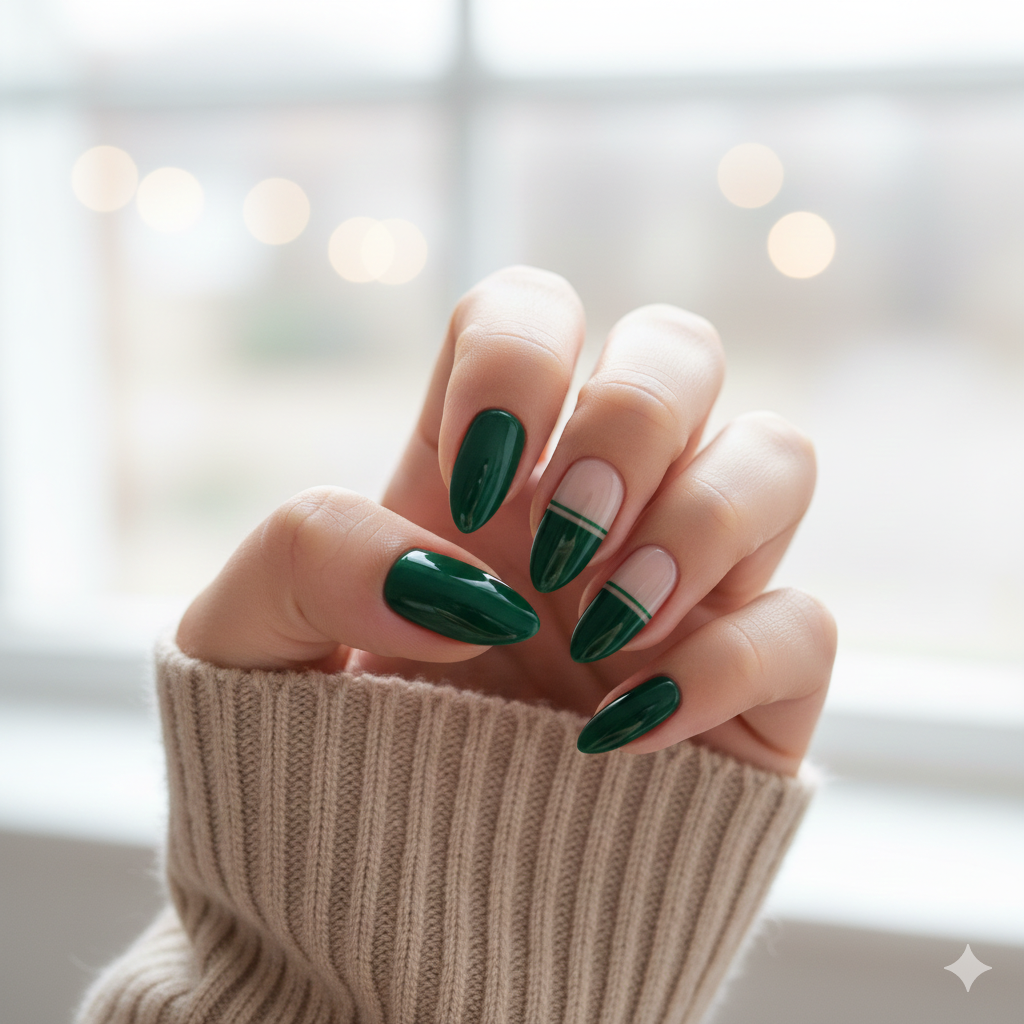
3. The Negative Space Stripe
This is a modern design that requires only a single piece of striping tape or a thin brush.
- Tools Needed: Base coat, one color polish (e.g., deep burgundy or navy), and striping tape or a very thin nail art brush.
- How to Do It:
- Apply a base coat and let it dry completely. This is crucial.
- Place a small, straight piece of striping tape horizontally or vertically across your nail, leaving a gap of bare nail on one side.
- Paint your color polish over the entire nail (over the tape and the exposed part).
- Immediately peel off the striping tape while the polish is still wet. This leaves a clean line of your natural nail showing through.
- Top coat everything.
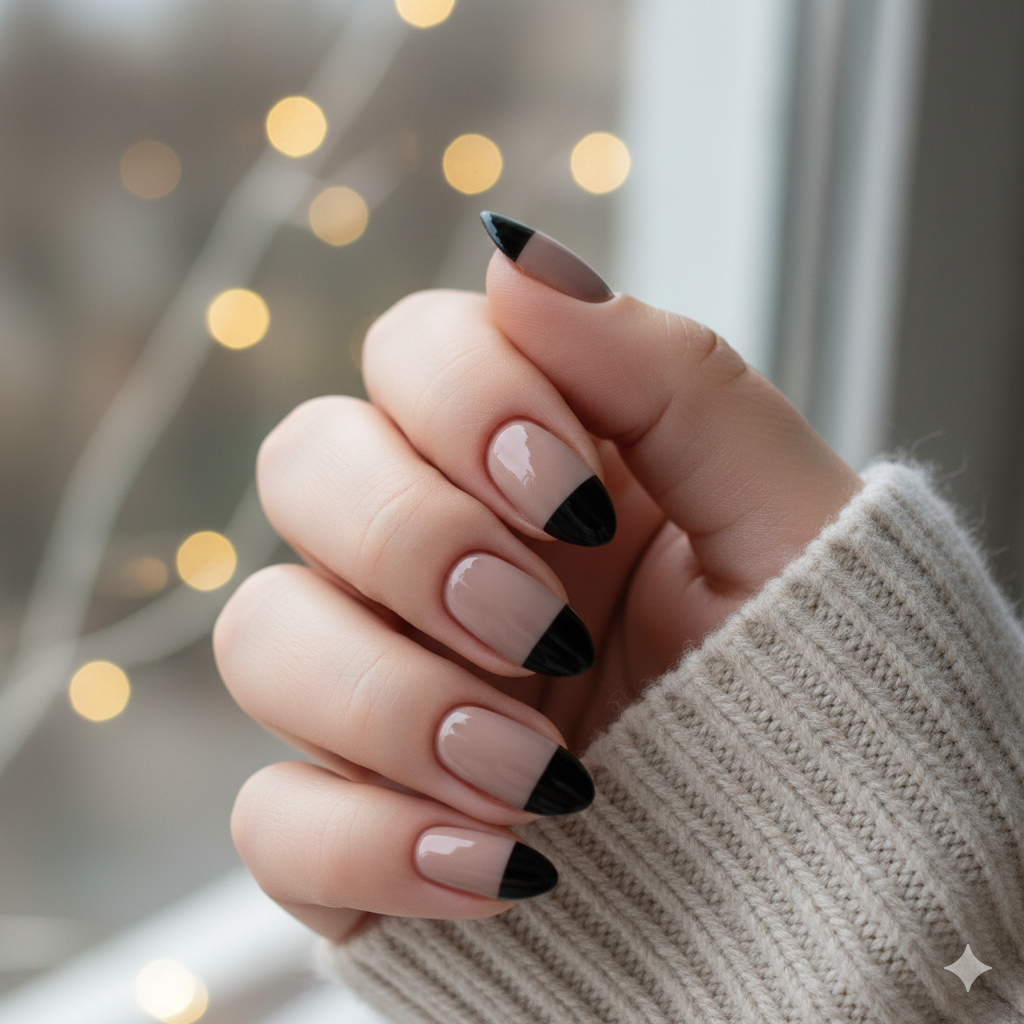
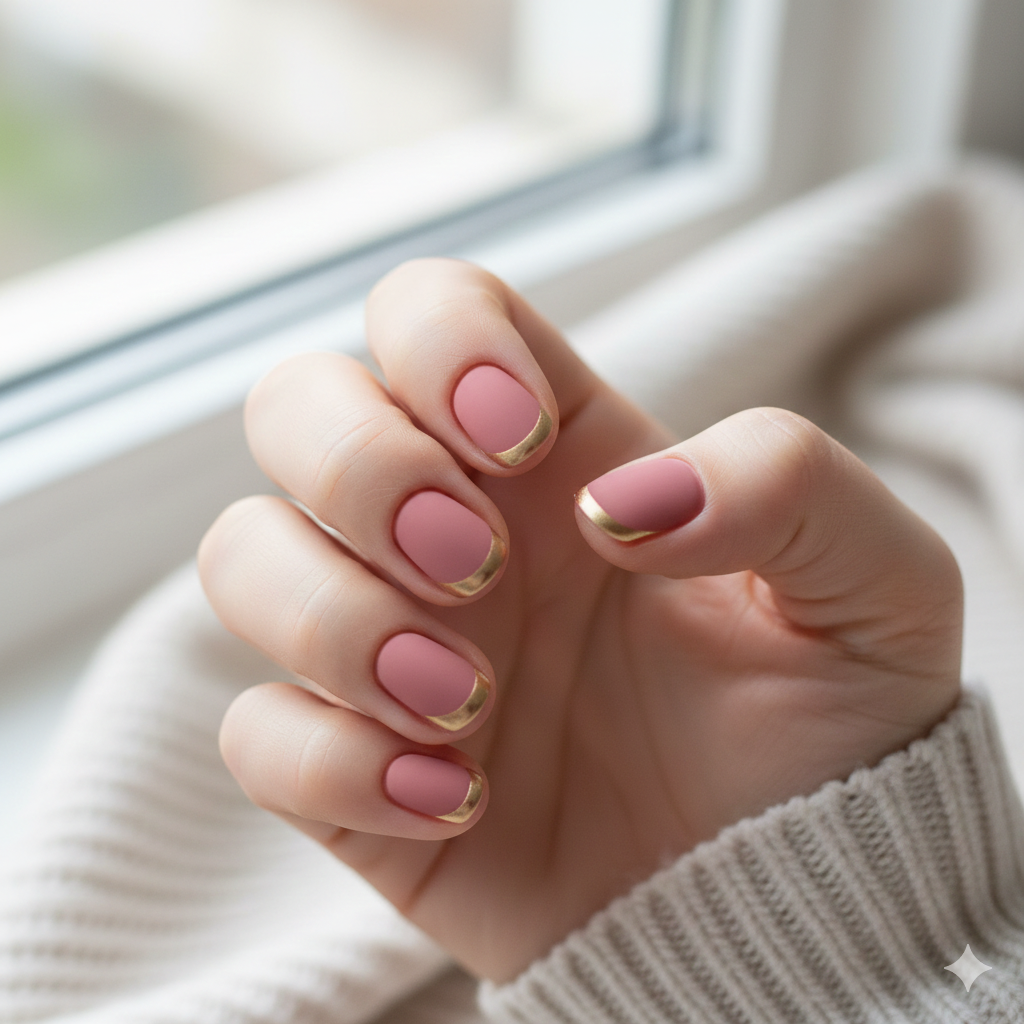
4. Color-Blocked Tips
An easier, less fussy alternative to a French manicure.
- Tools Needed: Base coat, a primary color, and a secondary color.
- How to Do It:
- Apply your base coat and your primary color all over the nail (e.g., a nude or light pink).
- Once the first coat is dry (mostly), take your secondary color (e.g., metallic gold, silver, or black).
- Instead of trying to get a perfect curve like a French tip, simply paint a straight, horizontal line across the very tip of your nail, covering about 1/8th of the nail surface. You can use the polish brush itself.
- Apply a top coat.
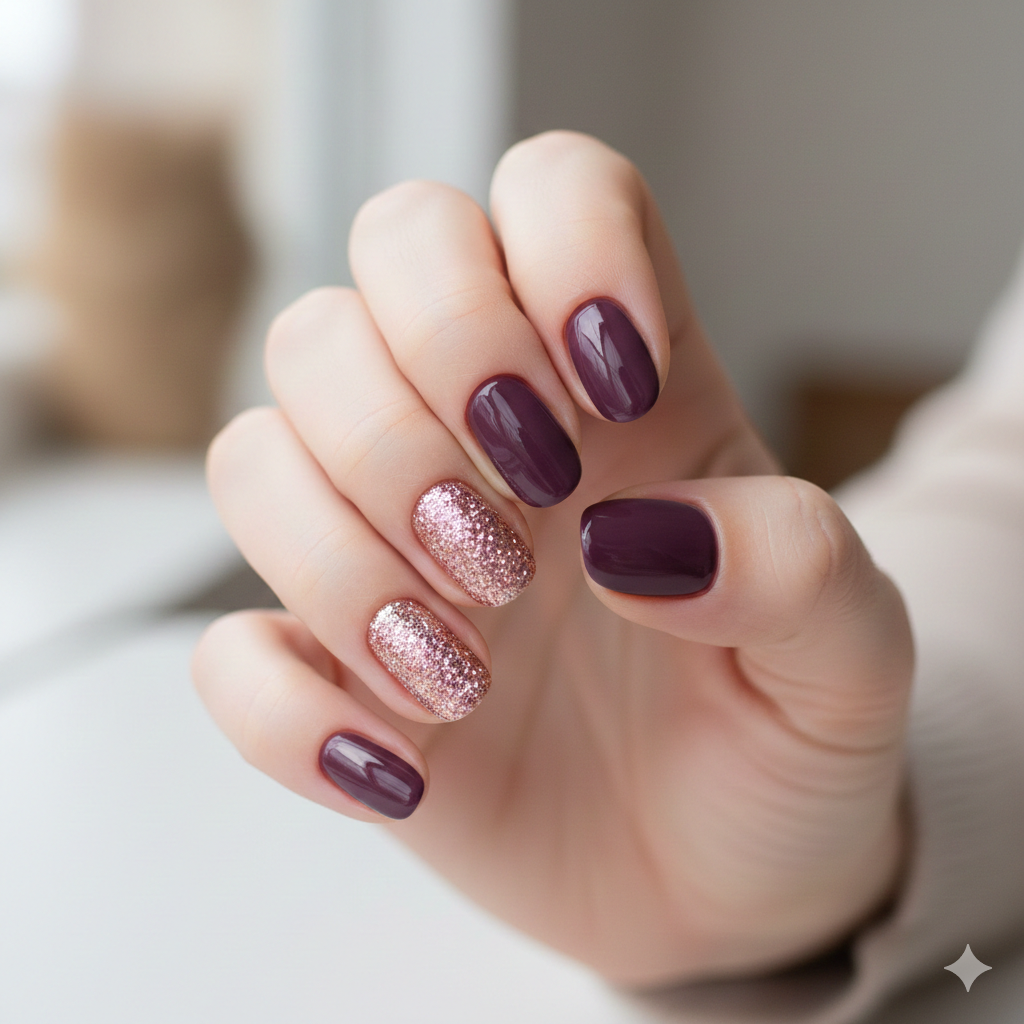
5. The Single Glitter Nail (Accent Nail)
This is perhaps the simplest way to add a touch of glam without much effort. You paint all your nails a solid color, and one nail (usually the ring finger) gets a full glitter treatment.
- How to Do It:
- Apply a base coat to all nails.
- Paint all nails (except your accent nail) with two coats of your chosen solid color (e.g., a classic red, a deep plum, or a chic nude).
- For the accent nail, apply two generous coats of glitter polish. You can even use a sponge to dab on the glitter for more opacity.
- Finish all nails with a durable top coat.
You got it! Let’s continue with more simple yet stunning nail art ideas for busy moms, complete with images to spark your creativity.
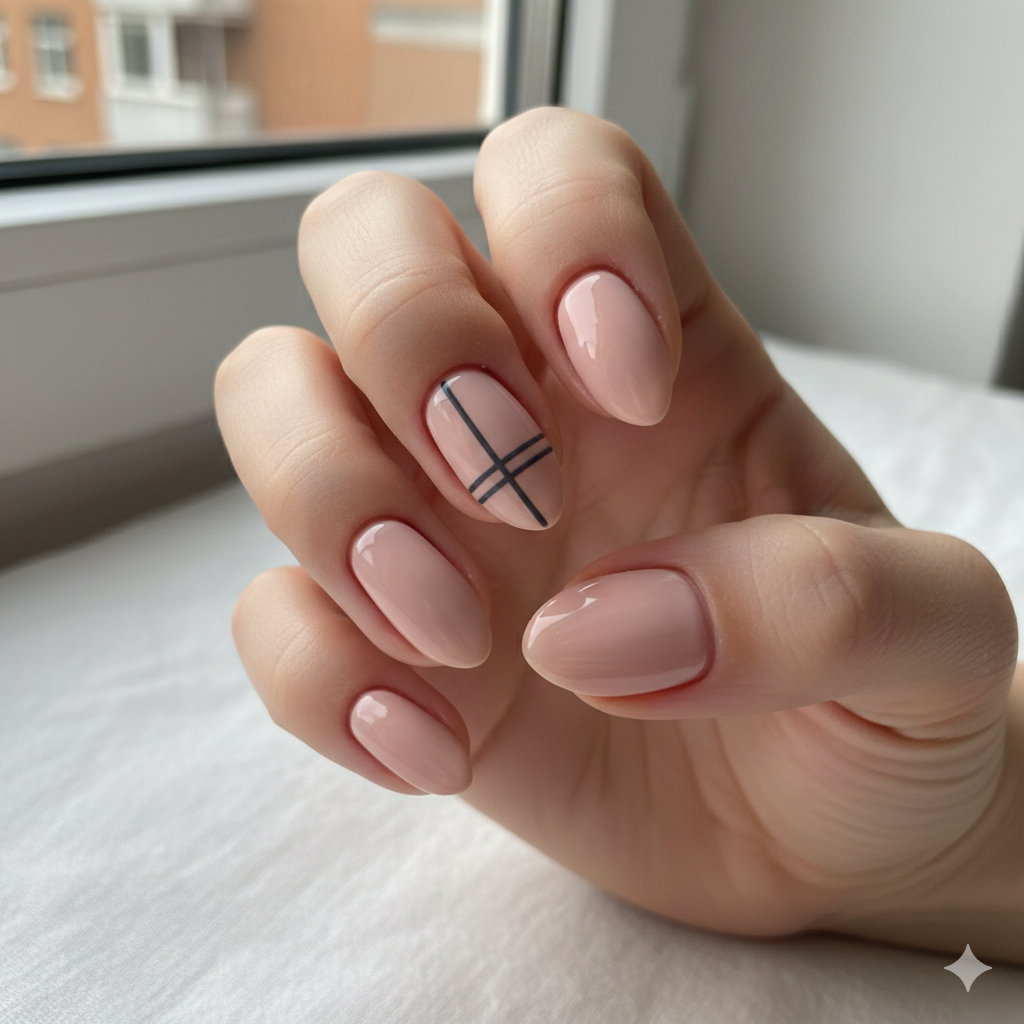
6. Minimalist Lines (Using a Striping Brush or Tape)
Thin, clean lines can transform a simple manicure into something modern and chic. This looks intricate but is surprisingly easy with the right tools.
- How to Do It:
- Apply your base coat and two coats of your main polish color (a nude, white, or light pastel works great as a base). Let it dry completely.
- Using a thin striping brush and a contrasting polish, or thin striping tape, create one or two simple lines on an accent nail. You can do a single vertical line down the center, a horizontal line near the tip, or even two intersecting lines.
- If using tape, remove it immediately after painting while the polish is still wet.
- Seal with a top coat.
7. The Subtle Half-Moon or Cuticle Arc
This design plays with negative space or a contrasting color right at the base of your nail, mimicking the natural “half-moon” shape. It’s elegant and doesn’t require perfectly steady hands.
- How to Do It:
- Apply your base coat and two coats of your main polish color. Let it dry completely.
- For a negative space half-moon, apply circular nail stencils (or even use hole-punch reinforcement stickers cut in half) to cover the desired half-moon area at the base of your nail. Paint over the rest of the nail with your main color, then immediately remove the stencil to reveal the bare nail.
- For a contrasting color arc, use a small, rounded brush (or the edge of your regular brush) to paint a small, clean arc of a contrasting color (like gold, silver, or black) right along the cuticle line of your nail. You can do this on all nails or just an accent nail.
- Finish with a good top coat.
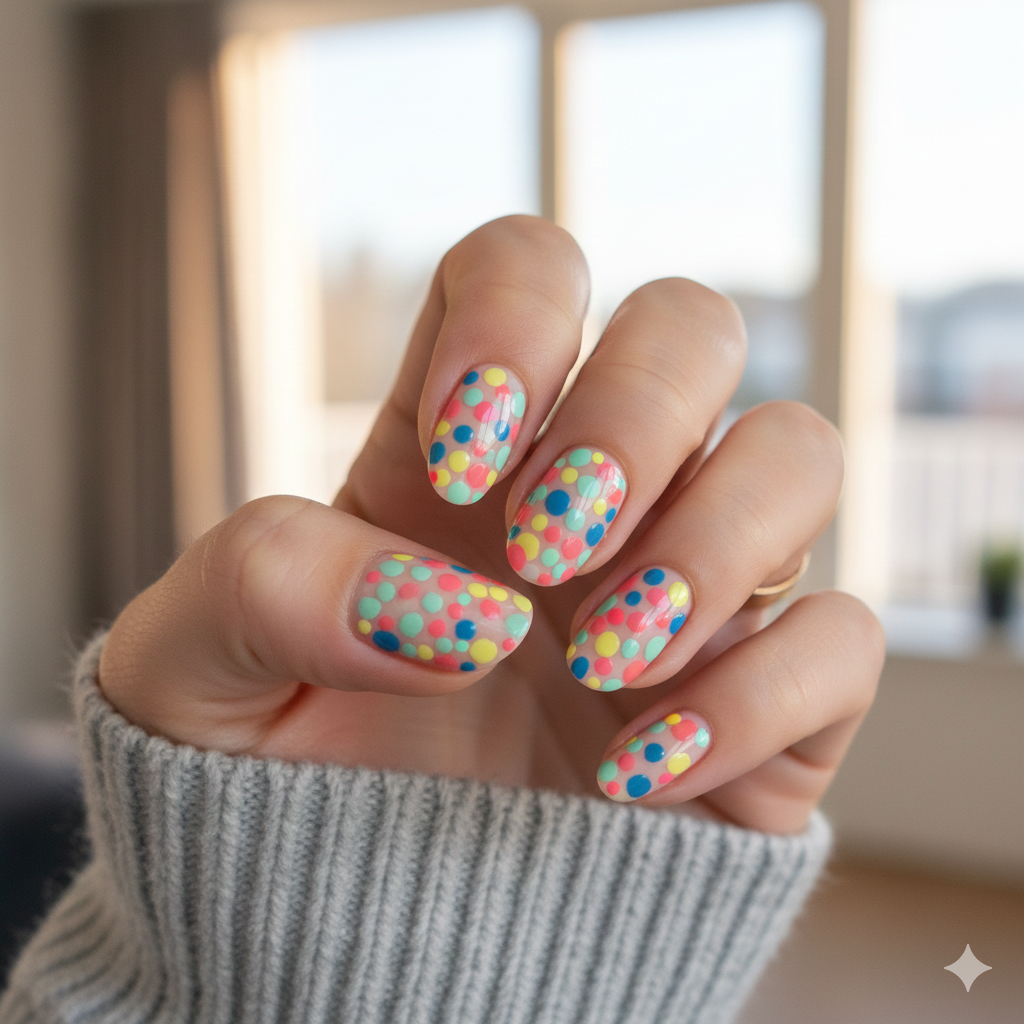
8. Confetti Dots or Abstract Splashes
This design is all about embracing imperfection and fun! It looks playful and modern, and the best part is there’s no “right” way to do it.
- How to Do It:
- Apply your base coat and two coats of a light, neutral, or even clear polish to all nails. Let it dry completely.
- Choose 2-3 contrasting or complementary polish colors.
- Using a dotting tool (or the tip of a bobby pin/toothpick), randomly place small, irregular dots or short dashes of each color onto one or two accent nails. Don’t worry about perfect circles or spacing; the abstract nature is part of the charm.
- You can layer the dots slightly or keep them separate.
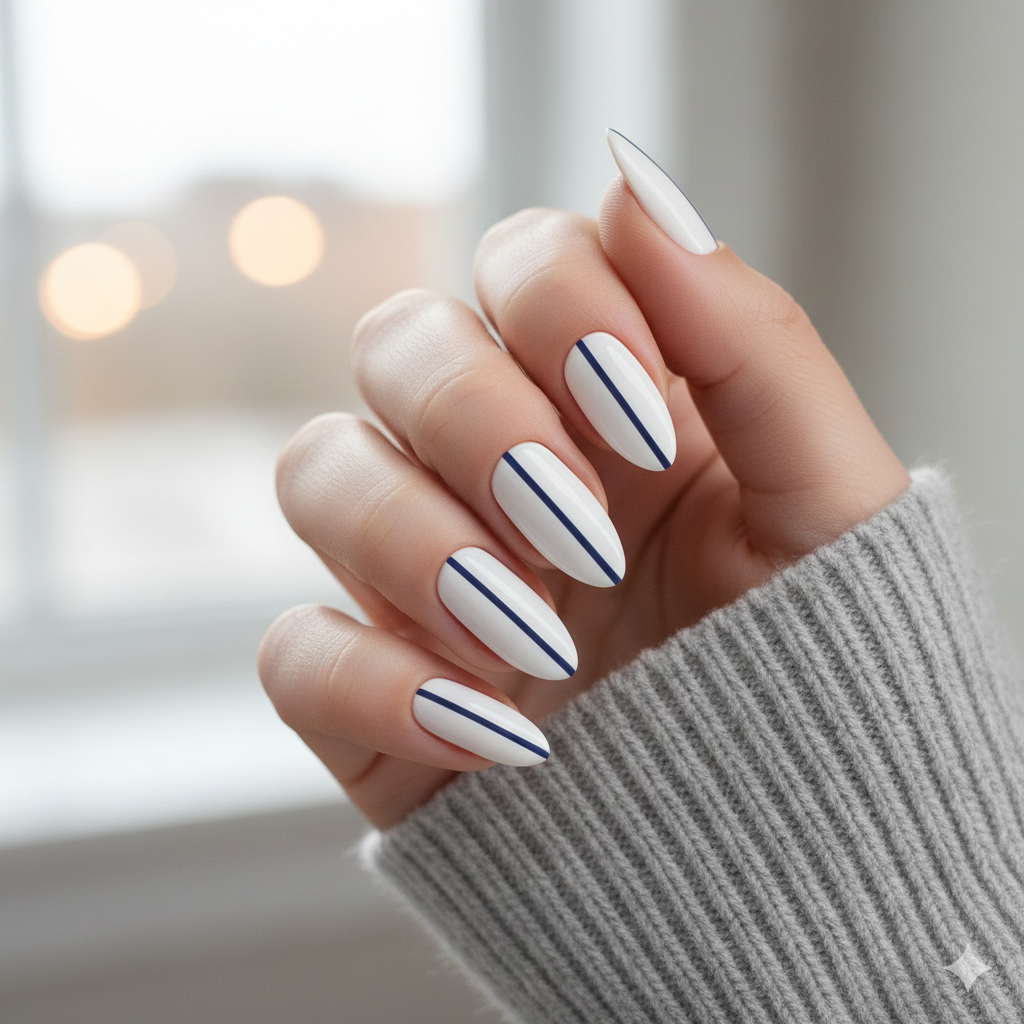
9. The Vertical Stripe (or Off-Center Line)
A single vertical stripe instantly elongates the nail and adds a sophisticated, minimalist touch without requiring intricate detail on every finger.
- How to Do It:
- Apply your base coat and two coats of your chosen main polish color (a solid, opaque color works best, like a clean white, nude, or even a soft gray). Let it dry completely.
- Using either a striping brush and a contrasting polish, or a piece of nail striping tape, create a single vertical line down the center or slightly off-center on each nail, or just on an accent nail.
- If using striping tape, ensure it’s pressed down firmly before painting, and remove it immediately after painting while the polish is still wet for the cleanest line.
- Finish with a quick-dry top coat.
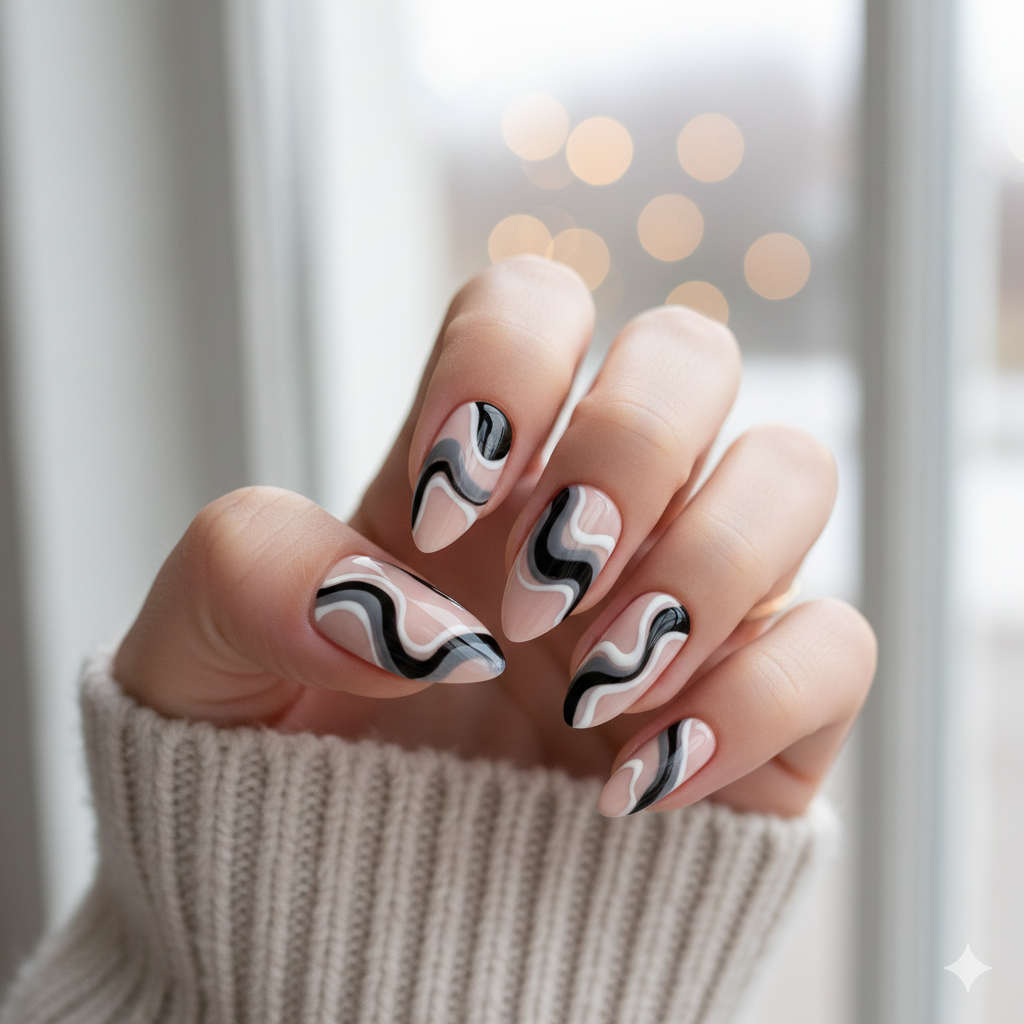
10. Abstract Swirls / Marble Effect (Easy Version)
Achieving a complex marble look can be tricky, but a simplified, abstract swirl is surprisingly easy and very forgiving. It gives a sophisticated, artistic flair with minimal effort.
- How to Do It:
- Apply your base coat and two coats of a solid, light polish color (like white, cream, or a pale nude). Let it dry completely.
- Place a few drops of 2-3 contrasting polish colors (e.g., black, gray, and white on a nude base, or different shades of blue) onto a piece of foil or a non-porous surface.
- Using a dotting tool or a fine brush, pick up a tiny amount of one contrasting color, then another. Gently drag and swirl the colors together in an abstract pattern on just one or two accent nails. Don’t overmix; you want distinct colors blending.
- You can apply these swirls as a small section or cover the entire nail, depending on your preference.
- Finish with a clear, glossy top coat to blend and seal the design.
You’ve just explored our top 10 simple nail art ideas, specifically crafted to fit into the demanding schedule of every busy woman and mom! From start to finish, we’ve shown you how to achieve professional-looking nails fast, without needing a huge time commitment or advanced skills.
💡 Pro Tips for Speed and Durability
- Invest in a Quick-Dry Top Coat: This is the most important investment. Look for brands that promise 60-second drying. This is the difference between a successful manicure and smudged nails 5 minutes later.
- Keep Cuticles Healthy: Well-maintained cuticles and hangnails (with cuticle oil or cream) make simple polish look intentional and expensive.
- Choose High-Pigment Colors: The fewer coats you need, the less drying time and the faster you’re done. Look for polishes that offer opaque coverage in one or two coats.
- “Seal the Deal”: When applying your base and top coat, always drag the brush along the very edge/tip of your nail. This seals the polish on the tip and significantly reduces chipping.
✨ Now Go Get Polished!
Thank you so much for reading and exploring these 10 simple and chic nail art designs! We hope this guide has shown you that stunning, durable nails are totally achievable, even when your schedule is packed. Every superwoman deserves that little boost of confidence a fresh manicure provides.
Loved what you saw? Show us some love by saving your favorite ideas!
- Pin It! Head over to our Pinterest page for more quick design inspiration and tutorials.
- Share the Secret! Don’t keep these time-saving tips to yourself! Be sure to share this post with your besties and fellow superwomen who could use a little extra sparkle in their busy lives.