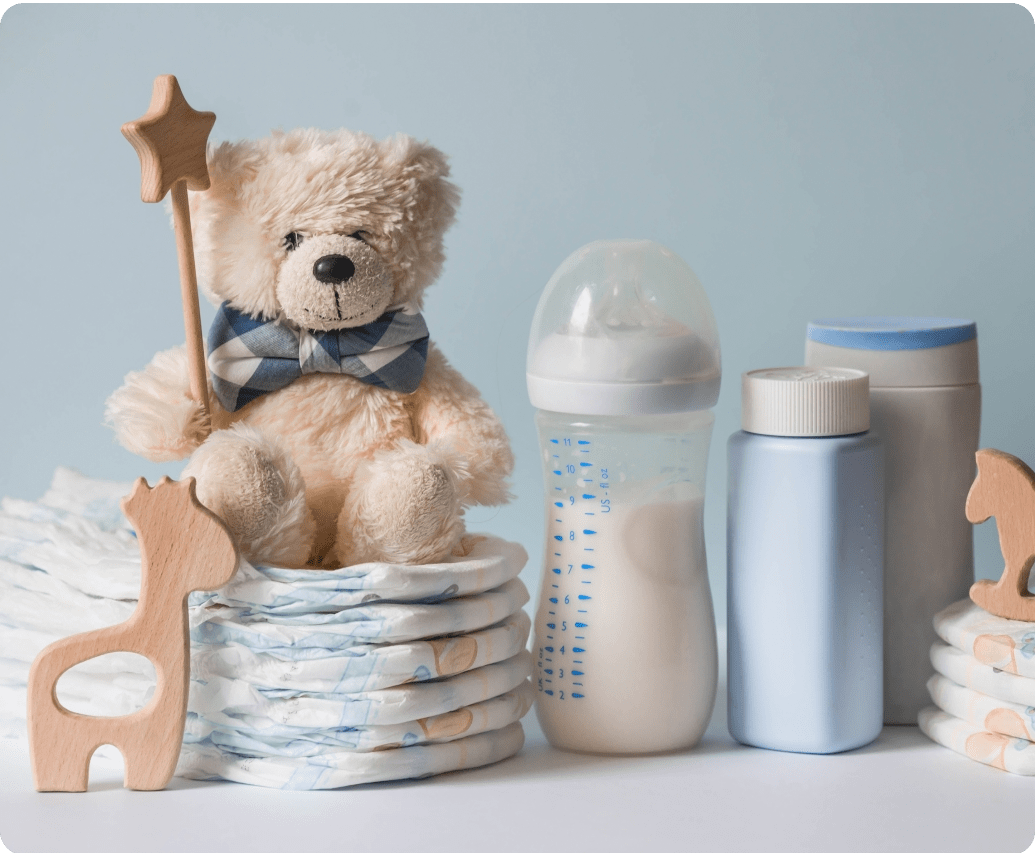
Creating a baby registry is one of the easiest ways to stay organized and let friends and family support you during this exciting time. The Amazon Baby Registry is one of the most popular choices because it’s simple to use, offers millions of products, and includes amazing perks like the free welcome box and completion discount.
In this guide, you’ll learn exactly how to set up your Amazon Baby Registry, plus tips to make it organized and complete.
If you’re looking for editable announcements or printables, you can browse the full collection in my Etsy shop for a familiar, secure checkout.
As a small thank you for being here, I also keep a few freebies and special bundles just for blog readers.
👉 View the Etsy collection
👉 See blog-reader perks
Why Choose Amazon for Your Baby Registry?
Amazon is a favorite among expecting parents because:
- ✔️ Millions of baby essentials in one place
- ✔️ Fast and reliable Prime shipping
- ✔️ Universal Registry (add products from ANY website)
- ✔️ Easy returns for up to 365 days
- ✔️ Free Welcome Box with samples
- ✔️ Completion discount up to 15%
These benefits make it easy for you and anyone shopping for your baby.
How to Set Up Your Amazon Baby Registry
Step 1: Go to Amazon Baby Registry
Head to the Baby Registry section on Amazon and click Create Baby Registry. Log into your account if you aren’t already signed in.
Amazon USA Baby Registry
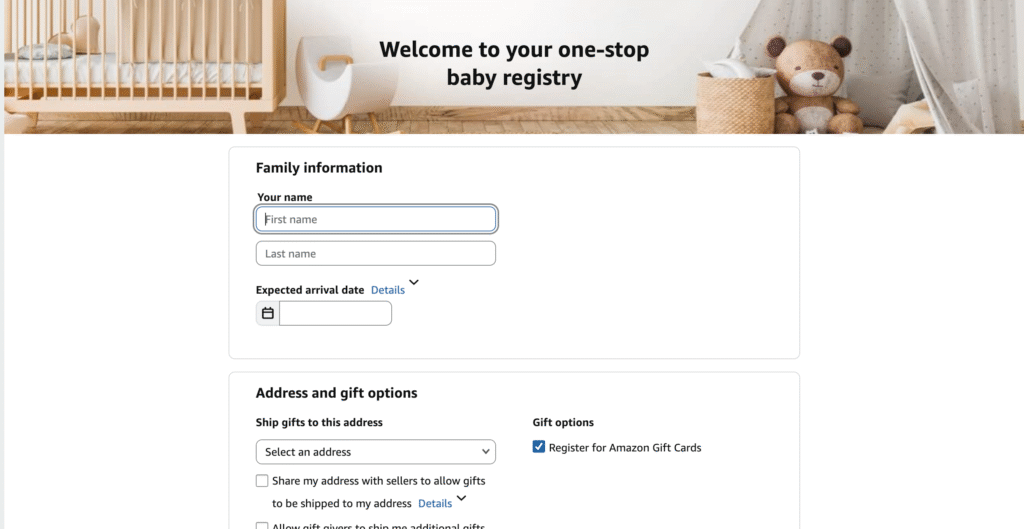
Step 2: Add Your Registry Details
You will be asked for:
- Your name
- Baby’s expected arrival date
- Shipping address
- Registry visibility (public, private, shared)
- Group gifting options
Tip: Set it to public so friends and family can easily find your registry.
Step 3: Customize Your Registry
Personalize your registry to make it more helpful:
- Write a welcome message
- Add a profile photo
- Add notes for gift-givers
- Choose a theme or layout
Customizing helps guests understand your preferences and needs.
Step 4: Start Adding Items
Now the fun part!
Browse Amazon’s recommended baby categories:
- Newborn must-haves
- Nursery and décor
- Diapering and bath time
- Feeding essentials
- Strollers and car seats
- Toys and learning
- Clothing
- Postpartum items for mom
You can also install the Amazon Assistant browser tool to add items from other websites.
Pro Tip: Mark your “must-have” items so your top needs stand out.
Step 5: Share Your Registry
Once your registry is ready:
- Click Share
- Copy the link to send via text, WhatsApp, email, or social media
- Add it to baby shower invites or your Instagram bio
Sharing early gives guests more time to shop.
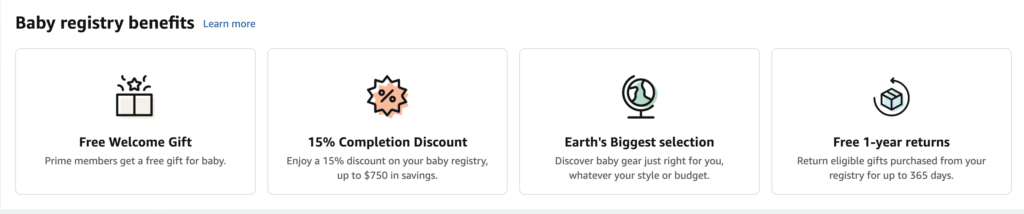
Amazon Baby Registry Benefits to Use
🎁 Free Welcome Box
After completing the checklist and having one item purchased, Amazon sends you a free box filled with baby samples.

💸 Completion Discount
Close to your due date, you get:
- 10% off for non-Prime members
- 15% off for Prime members
You can use this discount unlimited times on all eligible products.
Wanna hear the best thing?
The 15% completion discount is applied to almost all baby essentials.
🔁 Easy Returns
You get 365-day returns on most registry items — a huge bonus for new parents.
Tips to Make Your Registry More Helpful
- Include items at all price ranges
- Add essentials and big-ticket items
- Keep categories organized
- Update it regularly
- Use the “thank you list” to track gifts
⭐ FAQs
1. Is Amazon Baby Registry free?
Yes! Creating and using an Amazon Baby Registry is completely free.
2. How do I get the Amazon Baby Registry Welcome Box?
Complete the checklist, add items, and have at least one gift purchased. Then you can claim your free box.
3. Can I return items from my registry?
Yes — Amazon allows 365-day returns for most baby registry items.
4. Do I need Amazon Prime to create a registry?
No, but Prime members get extra benefits like a bigger completion discount and free shipping.
5. Can I add items from other websites?
Yes! With the Universal Registry feature, you can add products from any online store.